Your first note
Once your Substack is connected, you’re ready to create your first note.
Create a note
- Click the + New Note button (top-right on dashboard, or in the Notes page)
- Write your note in the editor — plain text, with Substack formatting supported
- Optionally add an image or link preview
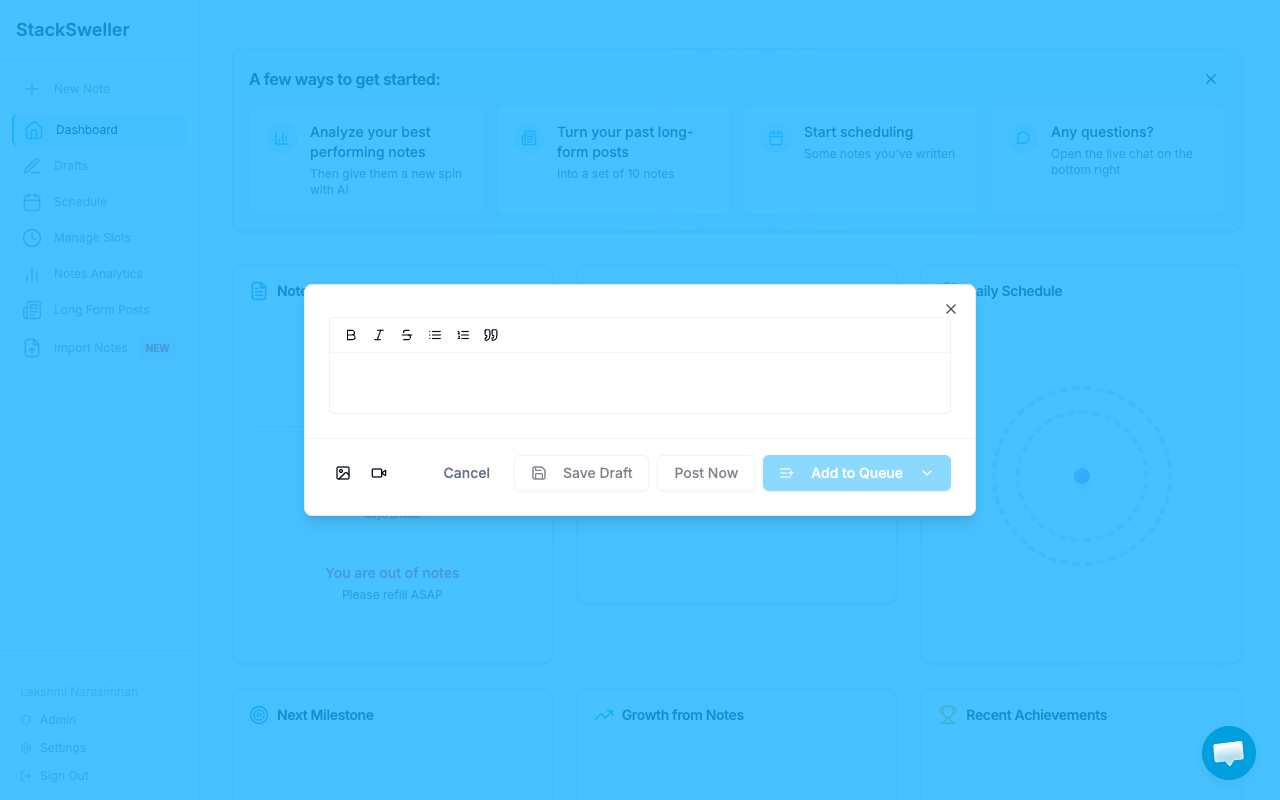
Publish options
Once your note is written, you have three options:
Publish now
Click Publish to immediately push the note to your Substack.
Schedule for later
Click Schedule, then choose:
- Specific date & time — pick a date and time from the calendar
- Relative time — e.g. “in 2 hours” or “tomorrow morning”
- Fill a slot — assign the note to one of your recurring scheduling slots
Save as draft
Click Save as draft to keep the note without publishing or scheduling.

💡 Tip
New to scheduling slots? See How scheduling works for a more consistent publishing setup.
Verify your note
After scheduling, the note appears in the Scheduled tab of your Notes page. You can edit, reschedule, or delete it any time before it publishes.
After publishing, it appears in the Published tab and you can track its engagement in Analytics.